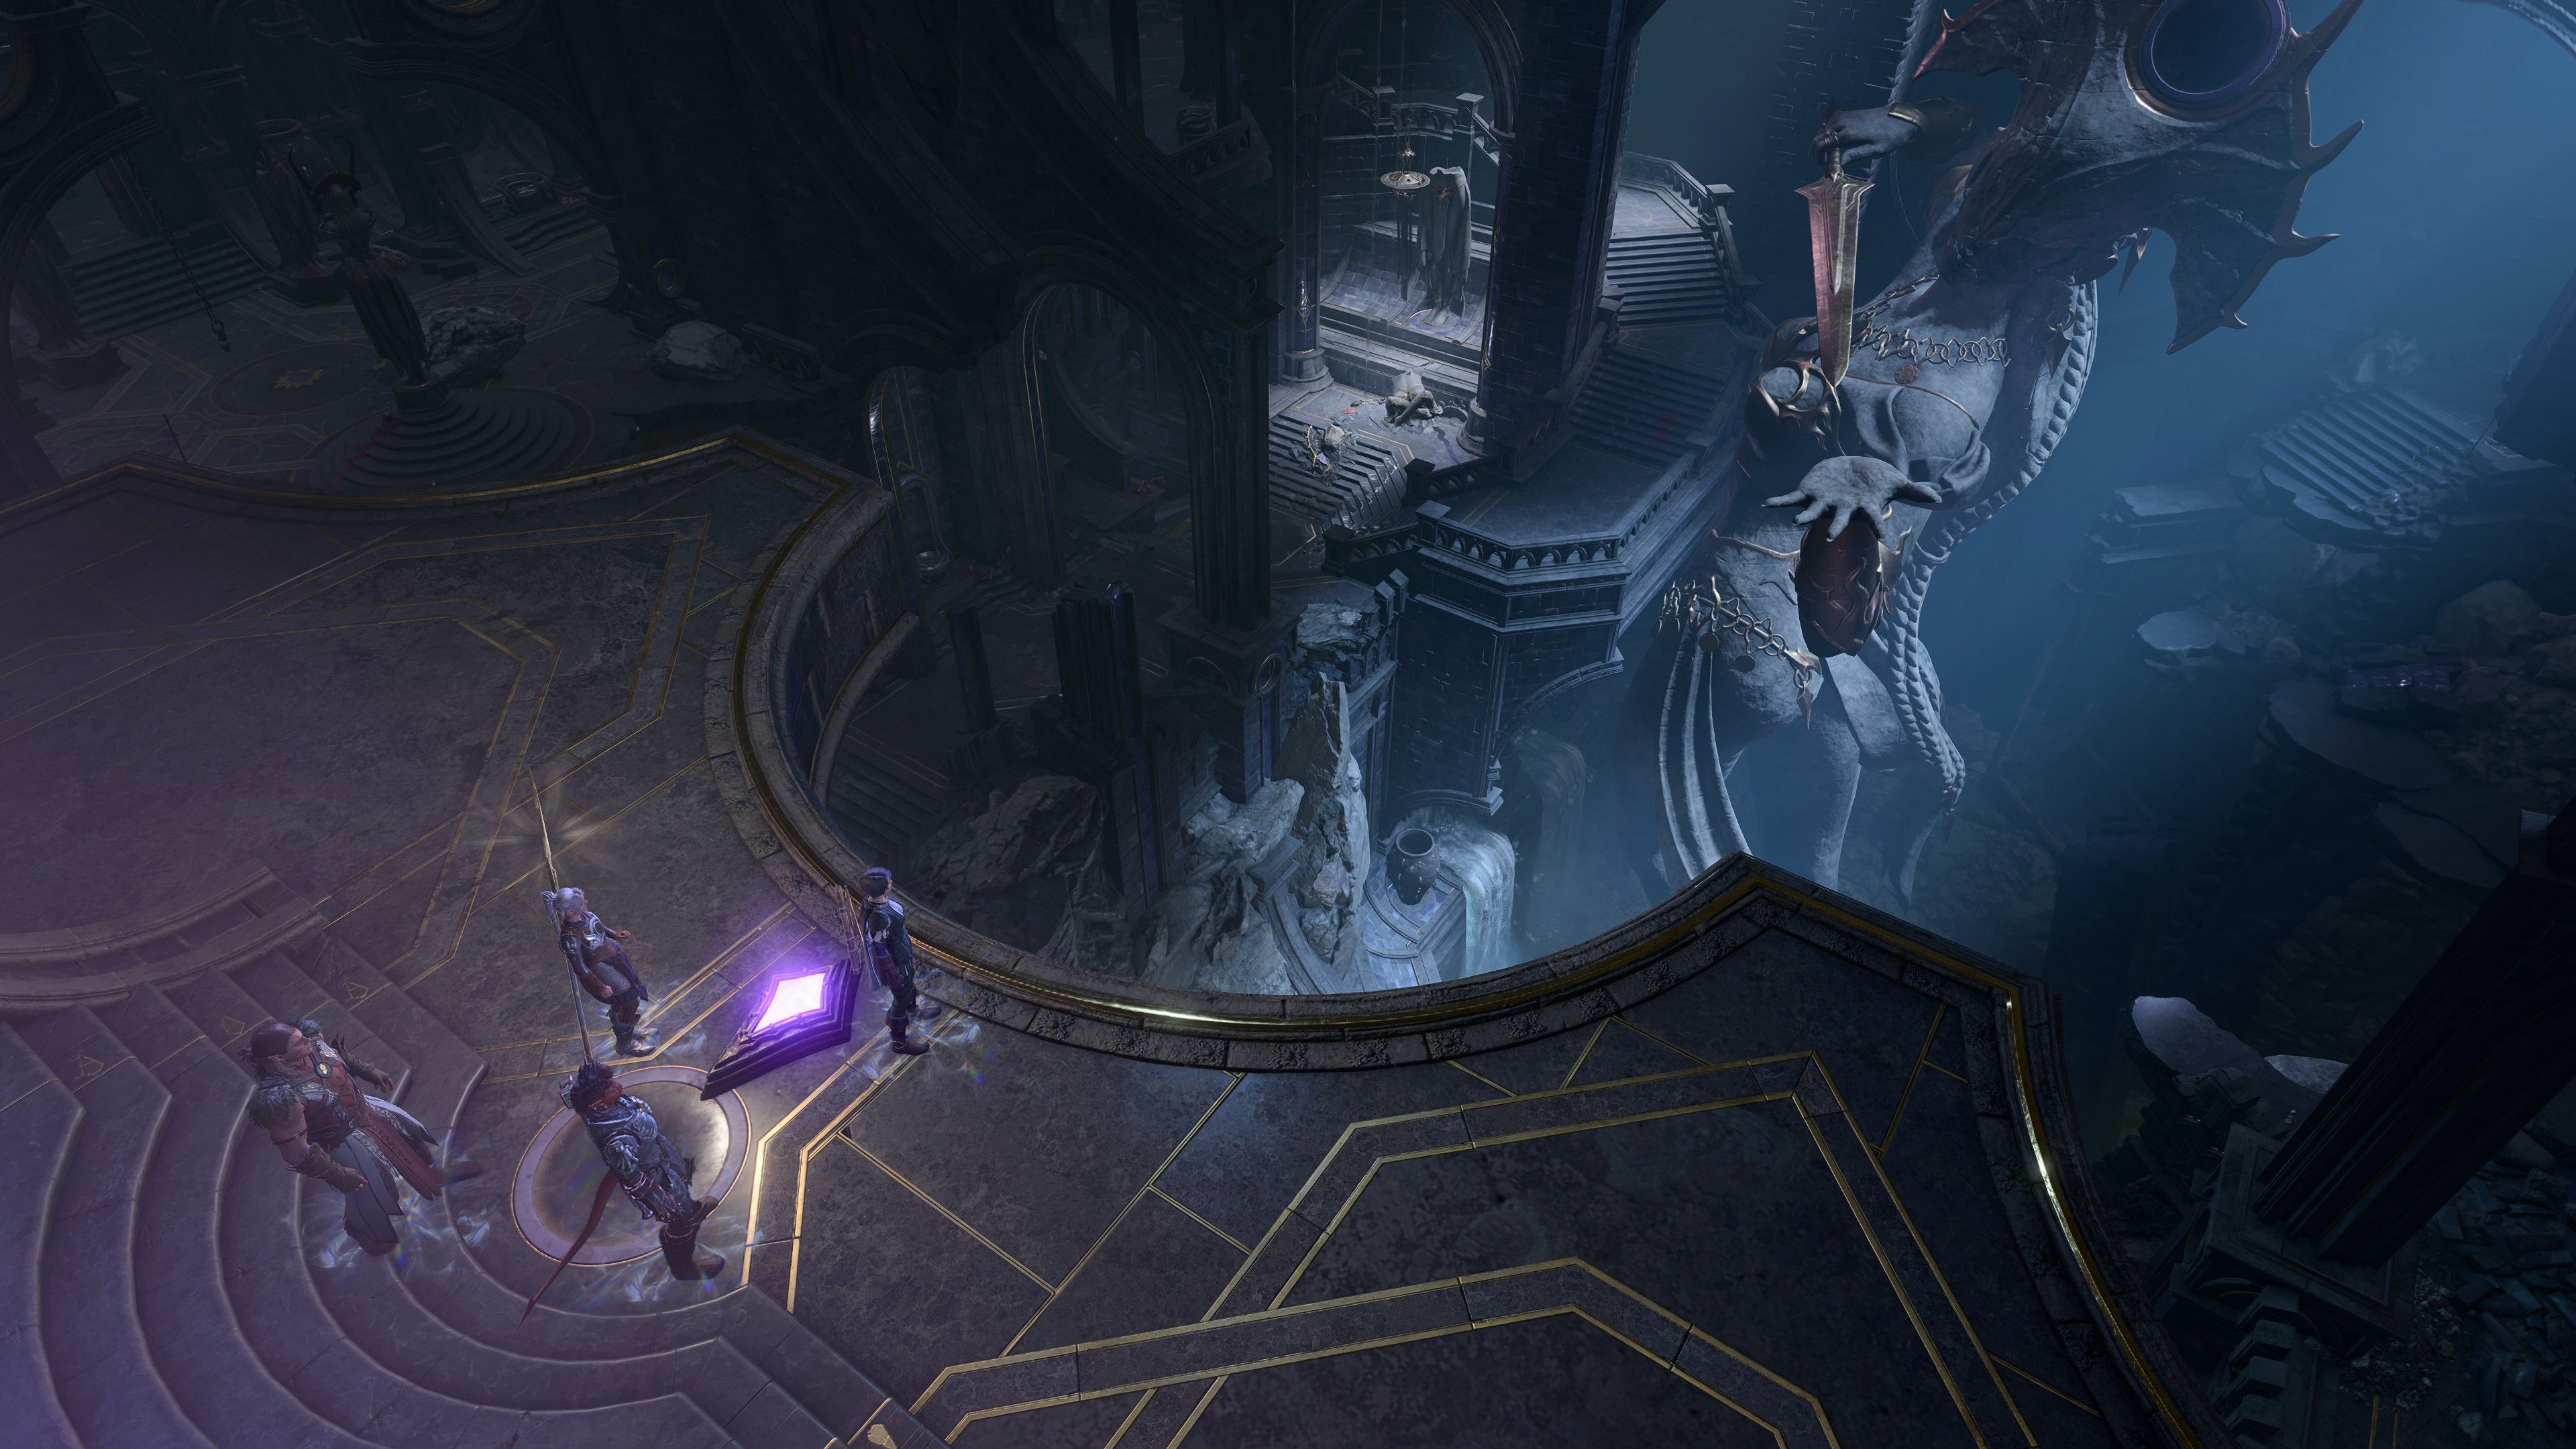
In Act 2 of Baldur’s Gate 3, your party of misfit adventurers enters the Shadow-Cursed Lands, a small but dense region home to many of the game’s most important quests and secrets. However, the land is cursed with lingering darkness, making exploring rather challenging. This list should help you keep track of everything you need to do before rejoining the road to Baldur’s Gate and Act 3.
[Warning: The following article contains spoilers for Baldur’s Gate 3.]
After completing everything in Baldur’s Gate 3’s massive first Act, you will enter the Shadow-Cursed Lands from the Mountain Pass or the Grymforge and the Underdark. The route you take doesn’t matter much, and you may have only explored one of these two areas. However, for completion’s sake, this guide assumes you explored both areas since this gives you the most story content and XP.

7 Baldur’s Gate 3 Quests That Are Essential Before Moving To Act 2
Baldur’s Gate 3 has a ton of quests, but completing these creates the most fulfilling playthrough of Act 1, leading to an amazing Act 2 and beyond.
Entering The Shadow-Cursed Lands
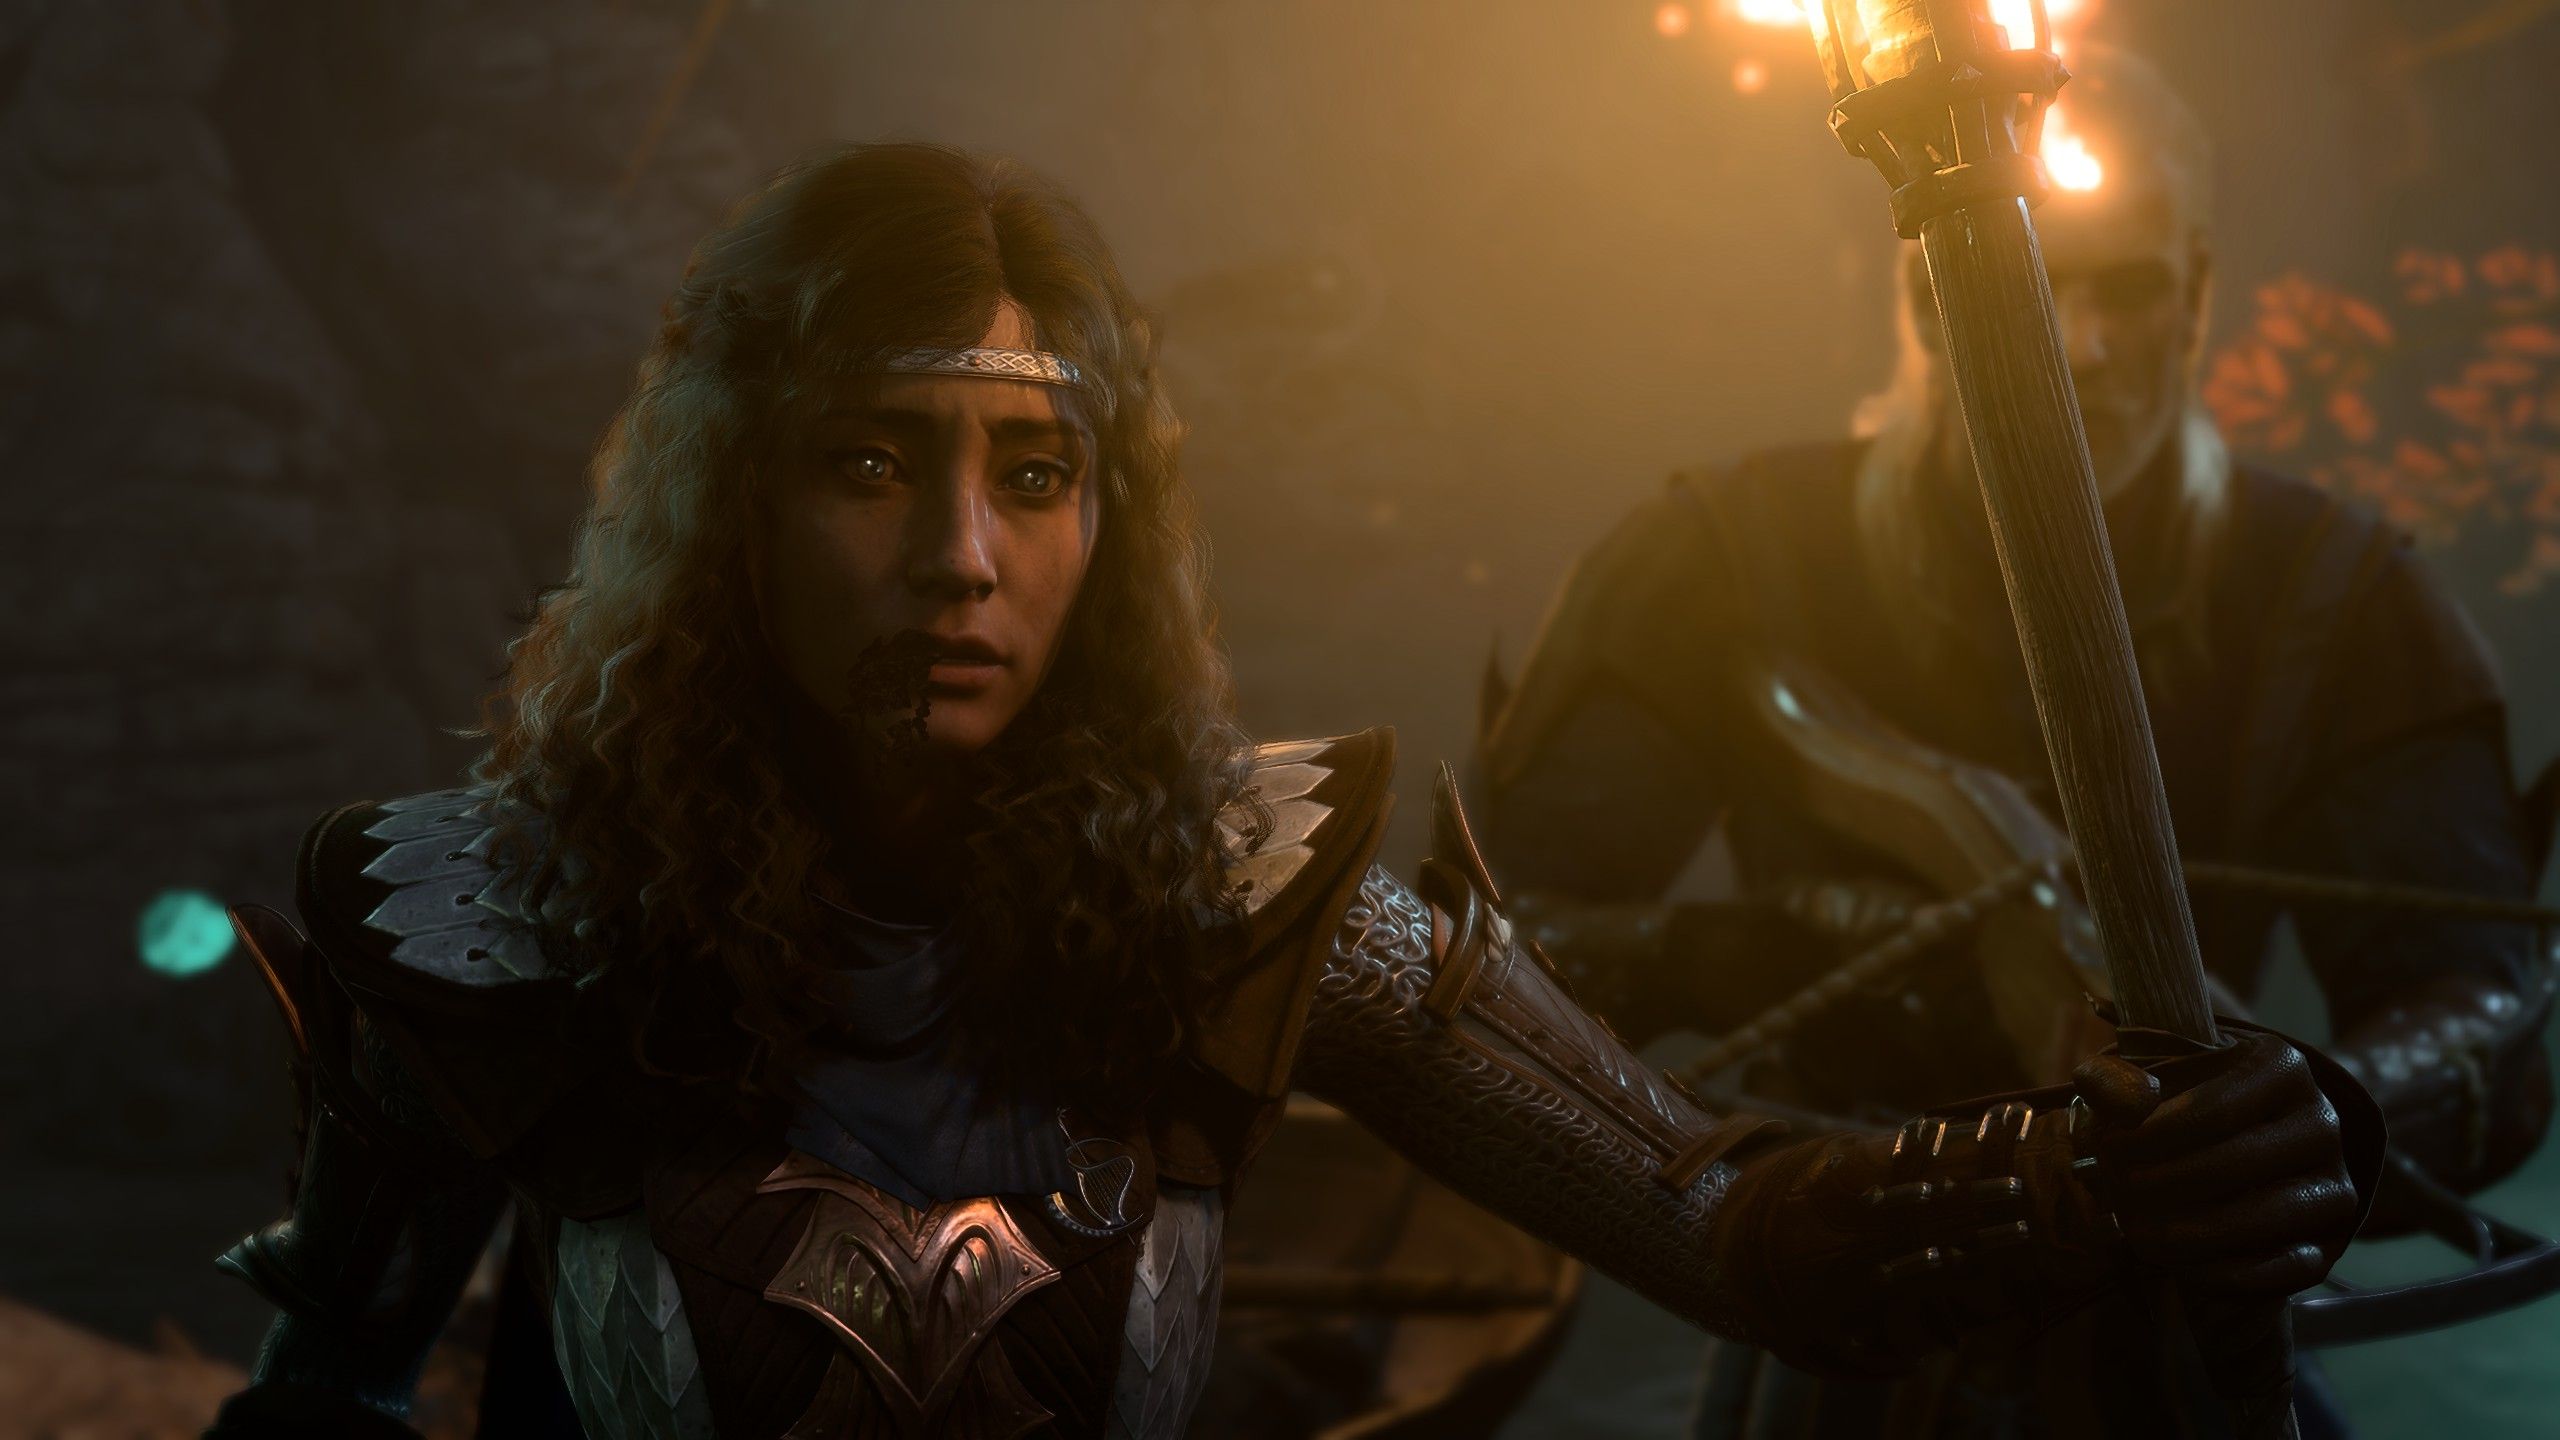
At the start of Act 2, you will find yourself in the Ruined Battlefield. If you enter from the Grymforge, you will run into a group of Harpers and have a particularly terrifying encounter with the shadowy inhabitants of this region. Before you search for Act 2’s best-kept secrets, it’s highly recommended that you follow the Harpers to their base at the Last Light Inn first. The Shadow Curse will damage anyone in your party not protected by a light source, and there are areas you can’t reach yet.
|
Activity |
Type |
Notes and Outcome |
|---|---|---|
|
Seek Protection from the Shadow Curse |
Main Quest |
You can help the Harpers fight off hostile shadows, at which point they will give your party directions to Last Light Inn. |
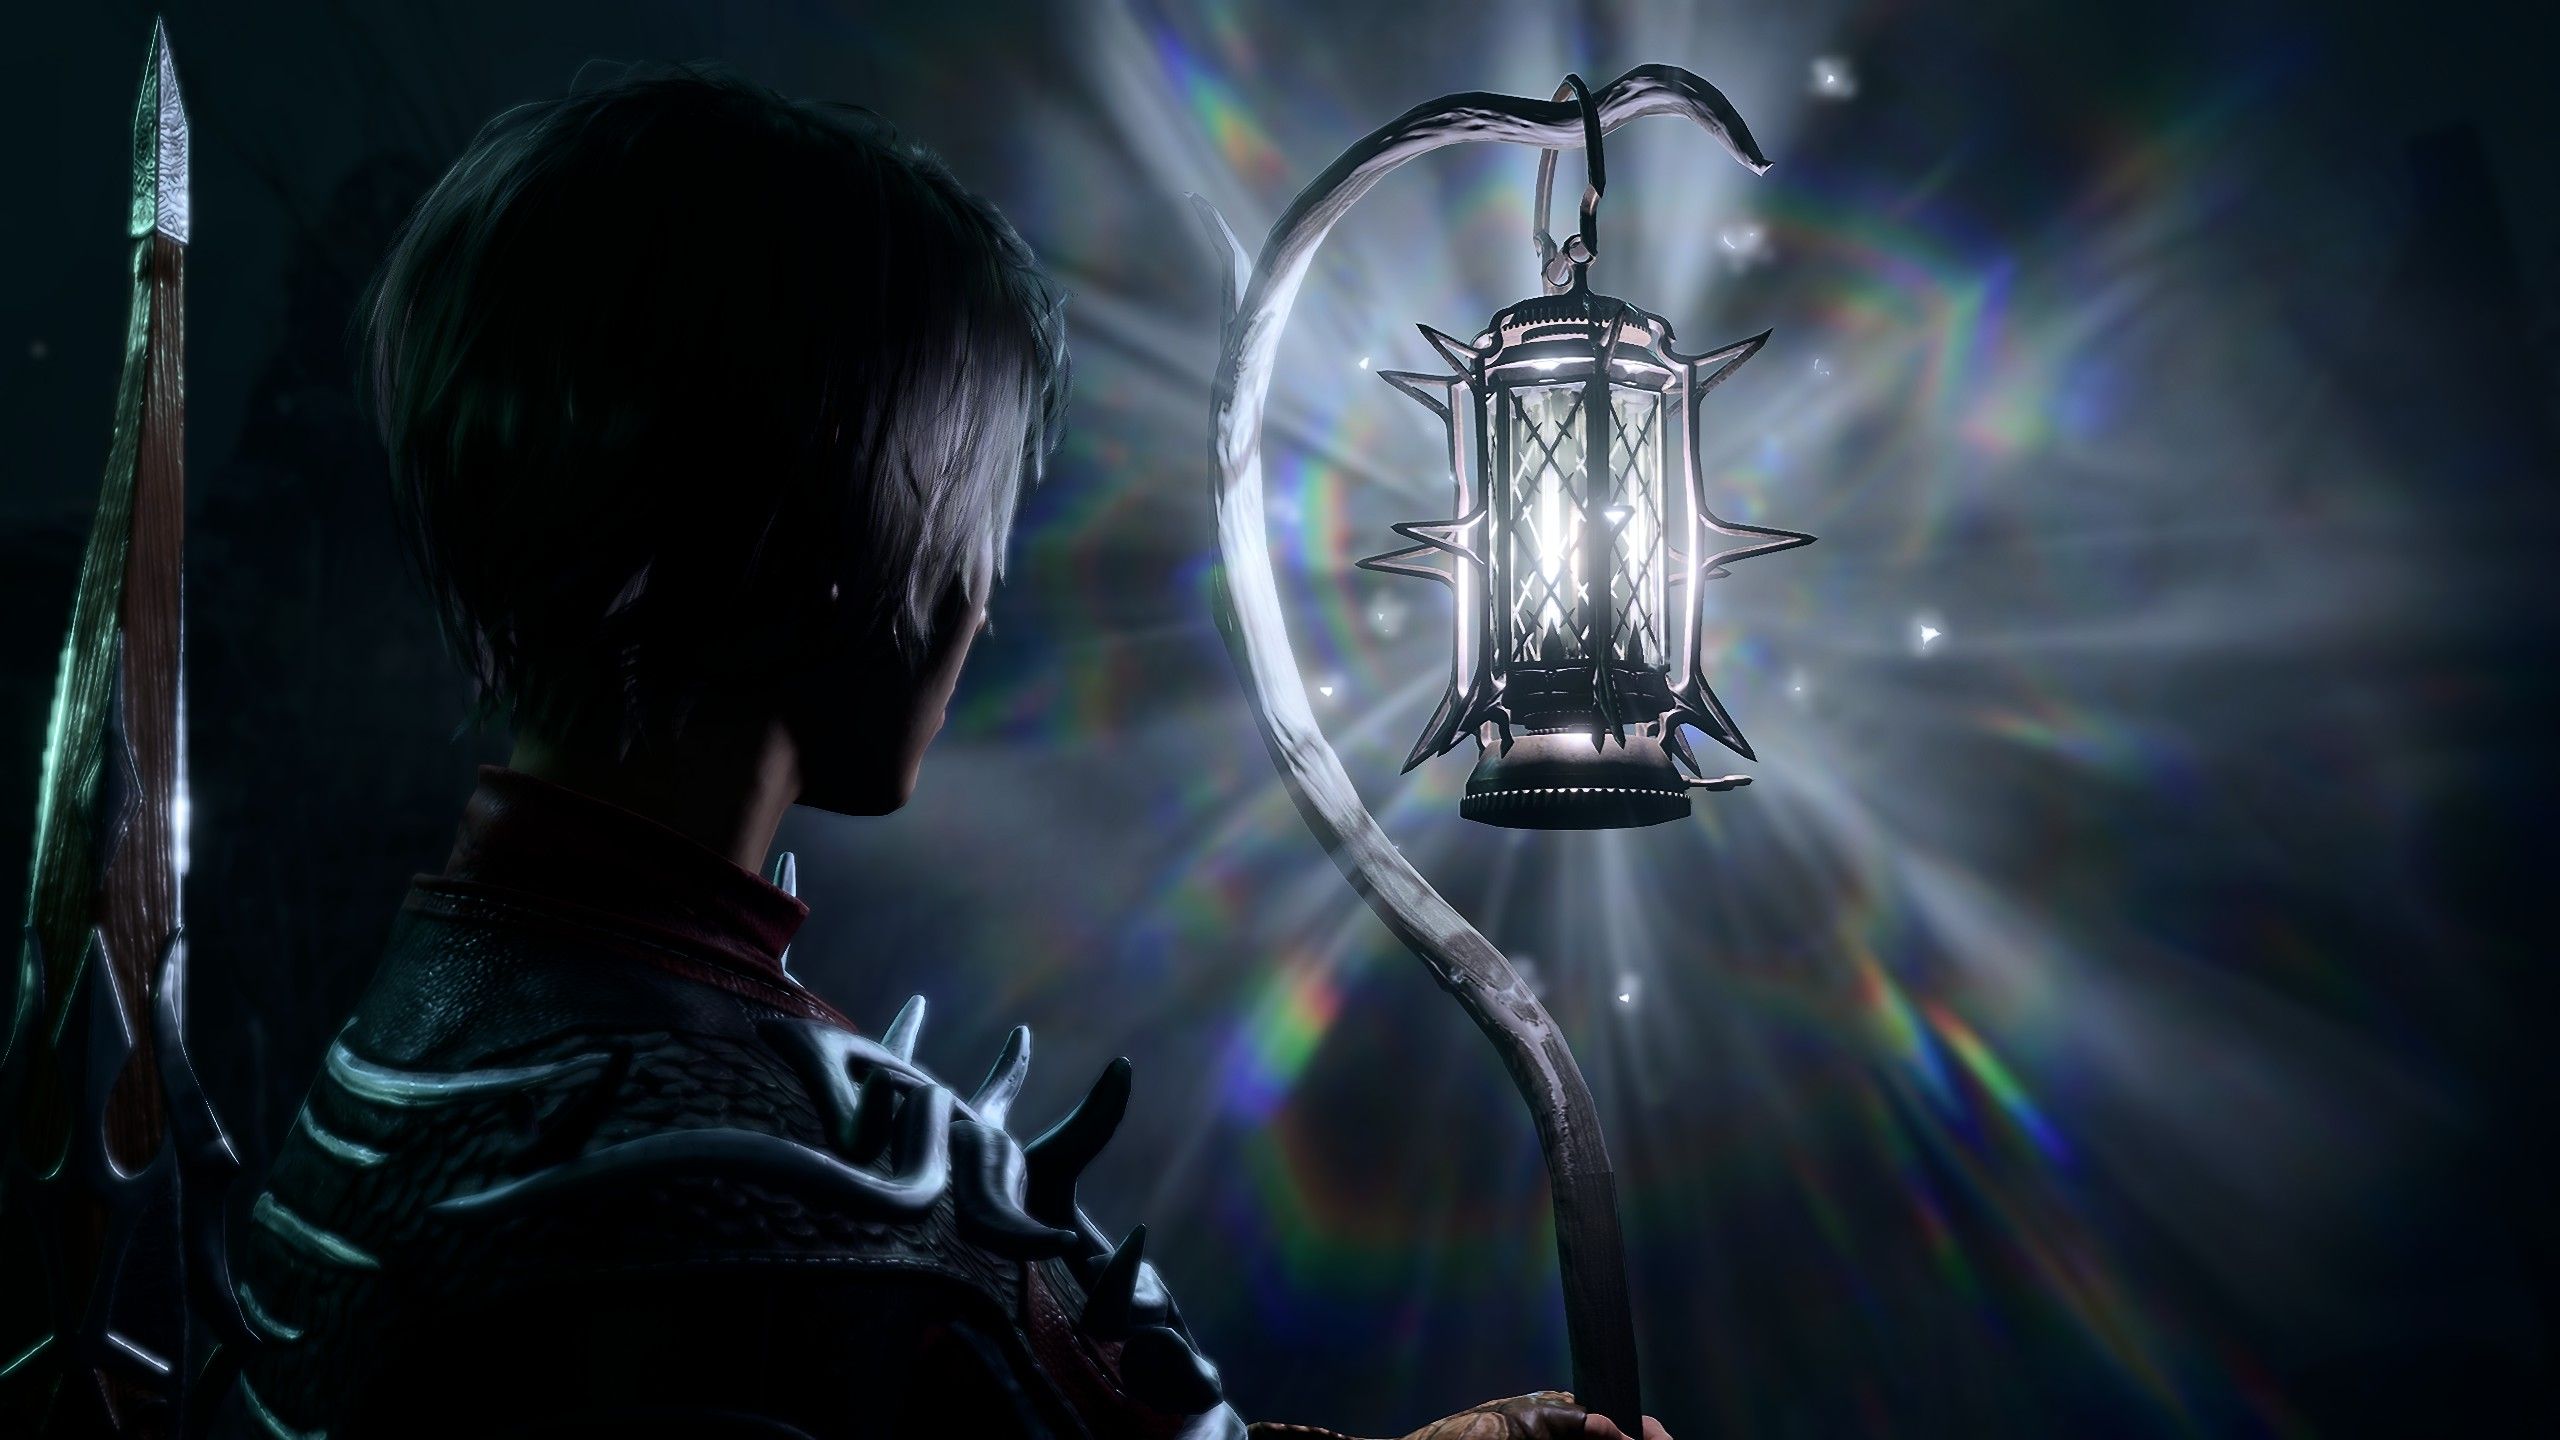
If you enter from the Mountain Pass, you will encounter an Absolutist convoy led by a Drider named Kar’niss. Kar’niss holds a Moonlantern to keep the curse at bay and will guide you to Moonrise Towers. Along the route, you and the convoy will be ambushed by Harpers.
|
Activity |
Type |
Notes and Outcome |
|---|---|---|
|
Follow The Convoy |
Main Quest |
When ambushed by the Harpers, you can side with them, kill the cultists, and take the Moonlantern for protection. Alternatively, you can side with the convoy and head to Moonrise Towers. |
The route you take really depends on your character’s alignment. Good-aligned players will likely head to the Last Light Inn with the Harpers, while evil-aligned players may head straight for Moonrise Towers.
The Last Light Inn
At the Last Light Inn, your party will be confronted by the Harpers, led by the druid Jaheira, a returning character from previous Baldur’s Gate games. Other characters will also be present here if they survived Act One, including Barcus Wroot and any surviving Tiefling refugees.
|
Activity |
Type |
Notes and Outcome |
|---|---|---|
|
Speak to Dammon |
Companion quest |
If Dammon survived the events of Act One, he can be found working the forge in the courtyard. You can give him Infernal Iron to help Karlach modify her infernal engine heart and progress her companion quest. This is important if you want to romance Karlach in Baldur’s Gate 3. |
|
Speak to the Strange Ox |
Encounter |
The Strange Ox comes back again at Last Light if you spoke to it at the Emerald Grove. |
|
Speak to Mattis |
Encounter |
Mattis appears if he survived Act One. He sells assorted items, and you can also convince him to hand over a Tower-Shaped Key which you can use later. |
|
Speak to Alfira |
Side quest |
Alfira appears if she survived Act One. Dark Urge players may need to take extra steps to save Alfira. Speaking to her reveals that the other Tieflings were taken to Moonrise Towers, starting Save The Tieflings. |
|
Speak to Rolan |
Side quest |
Rolan can be found drinking his sorrows away at the bar in the back. He reveals that his siblings Cal and Lia were taken to Moonrise Towers. |
|
Activity |
Type |
Notes and Outcome |
|---|---|---|
|
Speak to Barcus Wroot |
Side quest |
If you saved Barcus twice in Act One, he reappears here and can be spoken to. He will ask for help to rescue his friend Wulbren from Moonrise Towers, triggering the Rescue Wulbren side quest. |
|
Meet Mol and Raphael |
Encounter |
If she survived Act One, Mol can be found playing a game with the devil Raphael. You can intervene and help her win the game. |
|
Wake Art Cullagh |
Side quest |
In the western room, you can find the unconscious Art Cullagh under the guard of a group of Flaming Fists. Art cannot be revived just yet, but he sings a song about someone named Thaniel. |
|
Lift The Shadow Curse |
Side quest |
Speak to Halsin about the Shadow Curse, and he will mention Thaniel. You can then tell him about Art Cullagh to start the Lift The Shadow Curse quest. Once you’ve retrieved Art’s lute from Reithwin, you can play it to wake him up. |
|
Help Halsin |
Side quest |
Once Art is awake, you can help Halsin down by the riverside near the Last Light Inn. This involves protecting a portal from waves of enemies while Halsin rescues Thaniel. |
After speaking to everyone you meet in Act One, you can speak to Jaheira and introduce yourself properly. She will suggest infiltrating Moonrise Towers by pretending you’re a cultist and direct you to Isobel, a Cleric of Selune who can offer you a way to get through BG3‘s Shadow Curse.
Isobel can be found upstairs, and she will provide you with some protection against the Shadow Curse, allowing you to explore further. However, after speaking to her, the Last Light Inn will be attacked. Your party will be confronted by Marcus, a traitorous Flaming Fist, and other dark creatures sent to capture Isobel.
|
Activity |
Type |
Notes and Outcome |
|---|---|---|
|
Protect Isobel |
Main quest |
If you side with Isobel instead of Marcus, you have to fight off Marcus and his creatures. If Isobel is downed, Marcus will kidnap her, stripping Last Light of its protection against the Shadow Curse and transforming the NPCs into shadow creatures. Saving Isobel and beating Marcus isn’t easy, and you need to draw enemies away from her. |
|
Resolve The Abduction |
Main quest |
You can also side with Marcus and capture Isobel for the Absolute. |
After the battle, if you saved Isobel, you can speak to some Harpers outside. They will ask for your help in ambushing a cultist convoy. This is the same convoy led by Kar’niss from earlier, allowing you to obtain the Moonlantern that lets you enter Reithwin and Moonrise Towers.
If you’re playing as the Dark Urge in Baldur’s Gate 3, saving Isobel has consequences. Your butler, Scleritas Fel, will visit you later at camp, demanding that you kill her. Refusing to kill Isobel also has consequences.
Exploring The Shadow-Cursed Lands
With Isobel’s protection, you can explore the Shadow-Cursed Lands without worrying too much about the curse damaging your party members in Baldur’s Gate 3. If you haven’t already, your first step should be to obtain the Moonlantern from the Drider convoy.
With the Moonlantern, you will be given a choice to free the Pixie inside. Luckily, you can free the Pixie without losing the Moonlantern’s protection.
At this point, your destination will be Moonrise Towers. However, there are a few side quests and encounters out in the darkness, so it’s worth exploring your surroundings before continuing.
|
Activity |
Type |
Notes and Outcome |
|---|---|---|
|
Investigate the Selunite Resistance |
Side quest |
You can investigate Last Light’s Cellar to find evidence of a resistance led by Selunites. A note points to the Mason’s Guild in Reithwin. |
|
Punish the Wicked |
Side quest |
While exploring, you may come across He Who Was, a mysterious elf performing a strange ritual on the corpse of Madeline, a supposed murderer. If spoken to, he will ask the party to bring him Madeline’s Ledger from the tavern in Reithwin. There are some pros and cons to helping He Who Was. |
|
Play Hide and Seek with Oliver |
Side quest |
You can encounter Oliver at a ruined house northeast of the Shadow-Cursed Lands waypoint. You can play hide and seek with this mischievous spirit to obtain the Ring of Shadows. Oliver is also revealed to be Thaniel’s missing half, so you can speak to him to progress Lift the Shadow Curse. |
|
Find Rolan in the Shadows |
Side quest |
Rolan can be found near the bridge into Reithwin. The party can rescue him from hostile shadows and send him back to Last Light, ensuring his survival into Act 3. |
|
Confront Gerringothe Thorm |
Boss encounter |
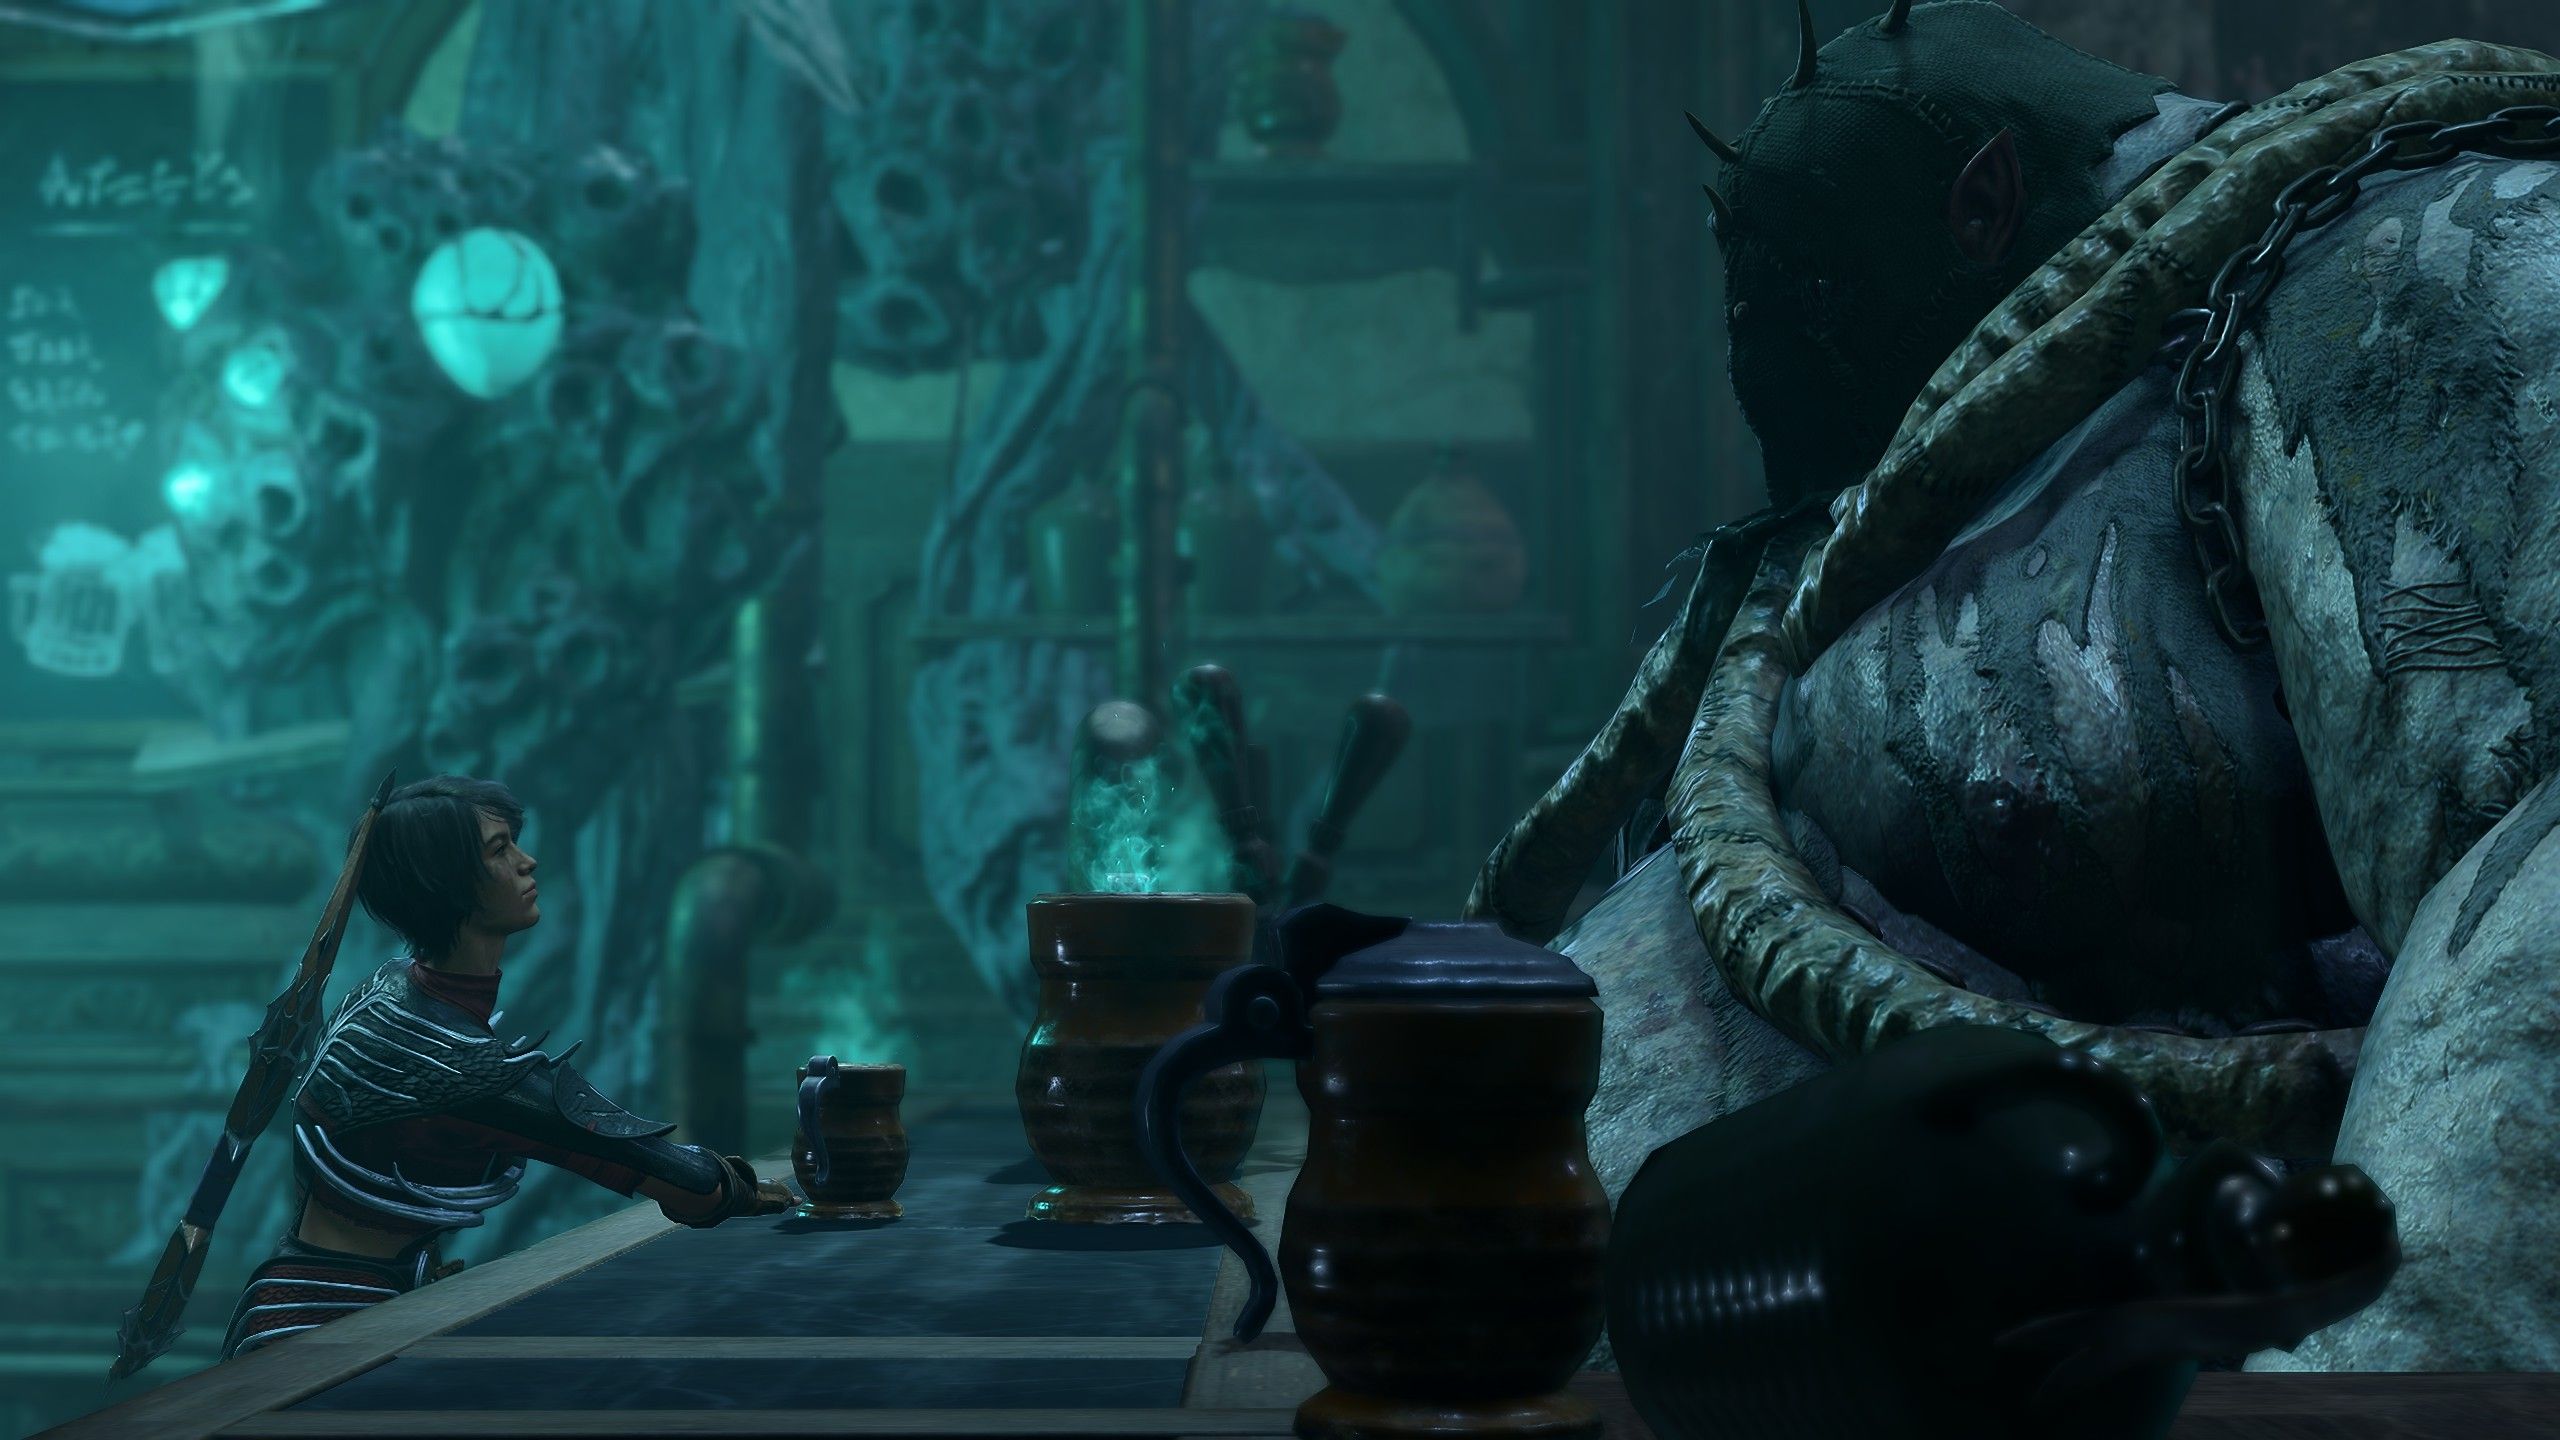
While passing through the Reithwin Toll House, you can find Gerringothe Thorm, the toll collector, on the second floor. This is a tough fight, but you can actually beat Gerringothe Thorm without fighting. |
Moonrise Towers (First Visit)
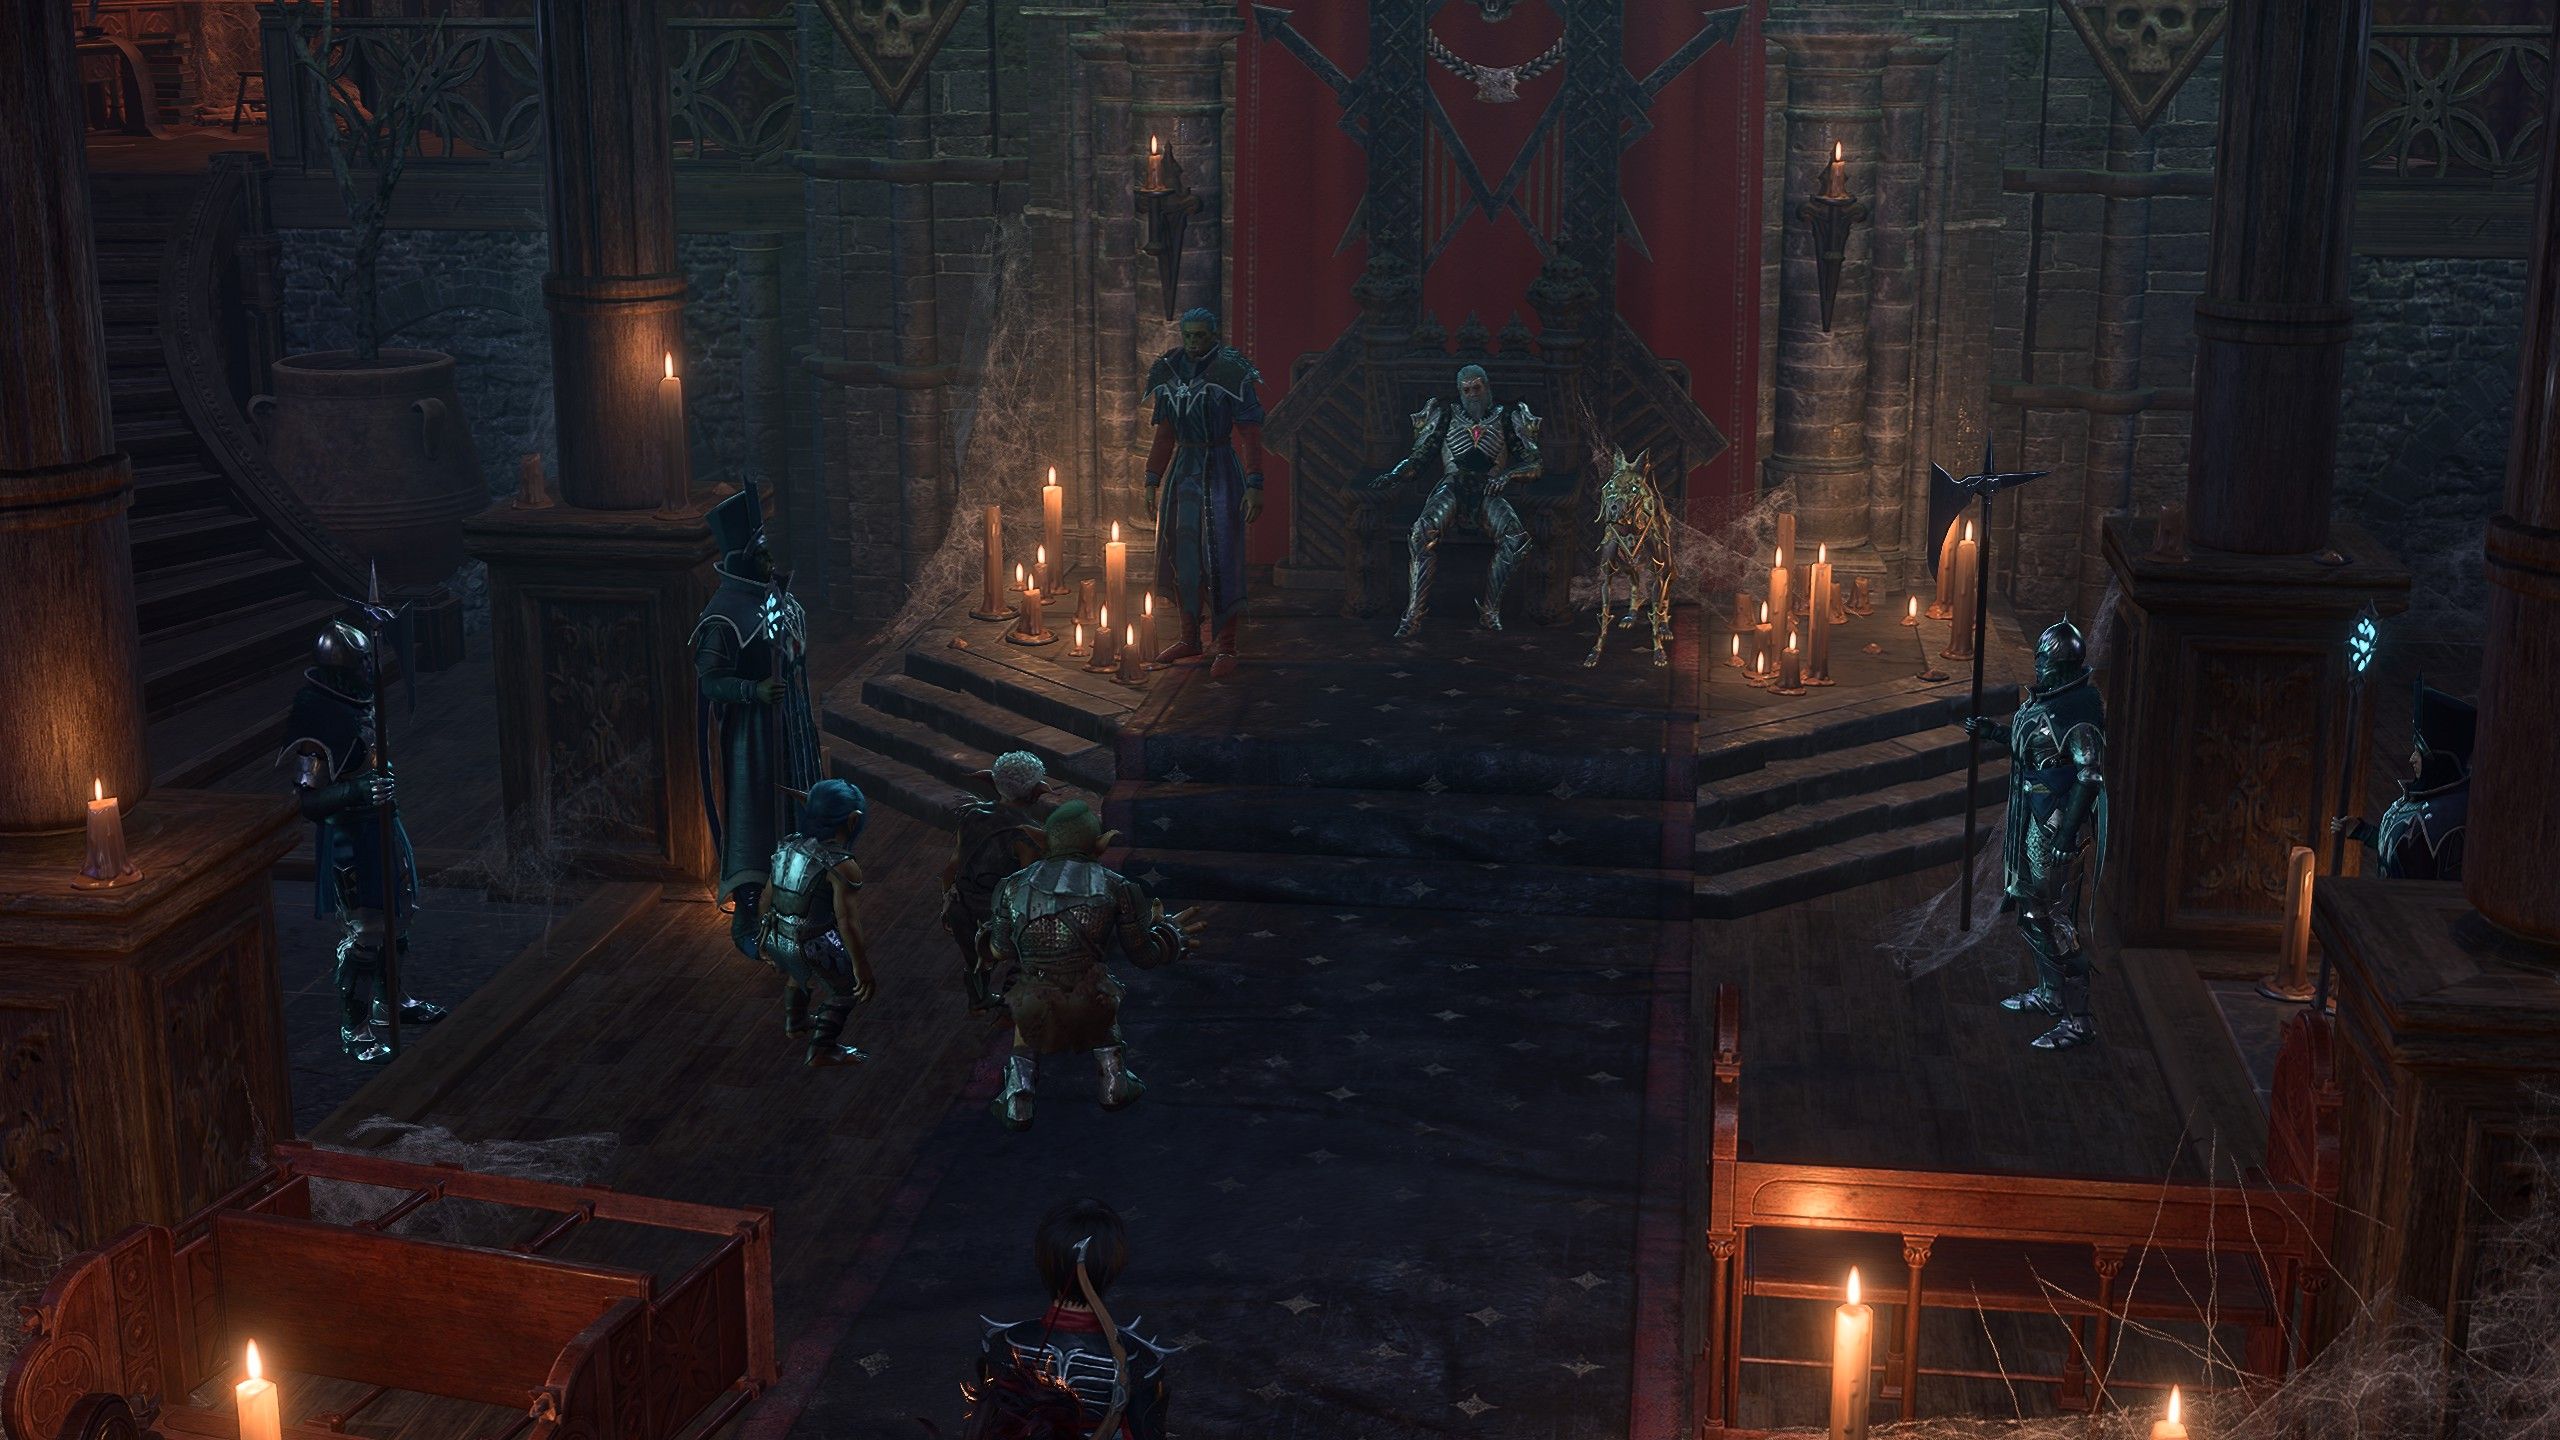
Once you’ve passed through the Reithwin Toll House in Baldur’s Gate 3, you can either infiltrate Moonrise Towers now or spend some time exploring Reithwin. However, you should infiltrate Moonrise first, as there’s quite a lot of time-sensitive content linked to the area. Talk your way past the guards and enter the main hall.
|
Activity |
Type |
Notes and Outcome |
|---|---|---|
|
Trade with Lann Tarv |
Encounter |
The merchant, Lann Tarv, will offer to give Karlach three Soul Coins as long as she listens to the stories of the souls trapped inside. |
|
Trade Blood with Araj Oblodra |
Encounter |
The drow, Araj Oblodra, performs experiments with blood. You can trade your blood for rare elixirs and gold. Giving her Astarion’s blood grants a special elixir that permanently raises the drinker’s Strength by 1. |
|
Decide Minthara’s Fate |
Companion quest |
If not killed in Act One, Minthara can be found being interrogated in the main hall and will eventually be sent to Moonrise Towers Prison. You can find her in the Prison and decide her fate. You can also choose to recruit Minthara to your party. |
|
Find Balthazar |
Main quest |
Disciple Z’rell can be found on the first floor. If spoken to, she will order the party to track down the necromancer Balthazar. |
|
Explore the First Floor |
Encounter |
The party can explore Balthazar, Ketheric and Isobel’s rooms on the first floor. Balthazar’s room contains a secret ritual that Gale can complete if he is at the party. The final slate about Prince Orpheus can also be found here and given to Lae’zel. |

The Best Main Party Member To Use in Baldur’s Gate 3
Certain party members are more versatile in Baldur’s Gate 3. This makes it easier to place them in more part compositions, regardless of builds.
Afterward, if you’re playing as a good-aligned character, you can head down to the Moonrise Towers Prison to free the captive Tieflings and Wulbren. These are the most important quests you must do before pursuing BG3‘s Nightsong. They are time-limited and will automatically fail if not done before this mission.
Exploring Reithwin Town
Once you’re free of Moonrise Towers, you can explore Reithwin Town to track down Balthazar in the Grand Mausoleum north of town. Many of Act 2’s best side quests in BG3 can be found in Reithwin.
|
Activity |
Type |
Notes and Outcome |
|---|---|---|
|
Find Arabella’s Parents |
Side quest |
If she survived Act One, Arabella can be found alone near the entrance to the Reithwin graveyard. You can send Arabella to camp or to Alfira, but she will ask you to find her parents. Their bodies can be found in a wing of the House of Healing. |
|
Confront Malus Thorm |
Boss encounter |
While exploring Reithwin’s House of Healing, you will encounter the surgeon Malus Thorm “teaching” surgery to a group of nurses. Like Gerringothe, Malus Thorm can be defeated without a fight. You can claim Art Cullagh’s lute from his body, which can be played to wake Art. |
|
Explore the Mason’s Guild |
Encounter |
You can enter the basement of the Mason’s Guild and use the Tower-Shaped Key you got from Mattis to unlock a secret room. Inside, you can find evidence to complete the Investigate the Selunite Resistance quest after defeating several shadows. |
|
Activity |
Type |
Notes and Outcome |
|---|---|---|
|
Confront Thisobald Thorm |
Boss encounter |
While exploring Reithwin’s The Waning Moon tavern, you can encounter the bartender, Thisobald Thorm. Defeating Thisobald Thorm without fighting involves joining him for drinks. |
|
Obtain Madeline’s Ledger |
Side quest. |
You can grab Madeline’s Ledger for He Who Was from beneath the floorboards behind the bar inside The Waning Moon. If the Ledger is given to him, players can complete Punish the Wicked. |
|
Open the Sharran Sanctuary |
Encounter |
The statue in the center of Reithwin has plaques on each side of its pedestal. If you press the north, west, and east plaques in that order, you can enter a hidden Sharran sanctuary and perform prayers to receive various blessings from Shar. Shadowheart can successfully pray and gain blessings without passing the checks. |
Once you’re done exploring Reithwin, head north to find the Grand Mausoleum and the Gauntlet of Shar. Raphael will stop you just outside to warn you about a dangerous entity lurking inside.
The Gauntlet of Shar
After entering the Grand Mausoleum, you will find that Balthazar entered the Gauntlet of Shar: a final testing ground for aspiring Dark Justiciars. As such, it’s highly recommended that you bring Shadowheart to progress her “Daughter of Darkness“ companion quest. Completing the Gauntlet of Shar is no easy feat, so make sure your party is well-rested and properly equipped. This is the point of no return for earlier quests, such as rescuing the Tieflings.
Can You Save Duke Ravengard In Act 2 Of Baldur’s Gate 3?
The promise of a chance to save Duke Ravengard in Act 2 of Baldur’s Gate 3 is appealing, but the possibility of a rescue can quickly become unclear.
To open the entrance to the Gauntlet, head to the back of the Mausoleum and click the buttons under the paintings. The correct order is Moonrise Towers, Grief, and General.
|
Activity |
Type |
Notes and Outcome |
|---|---|---|
|
Find Ketheric Thorm’s Relic |
Main quest |
This quest involves completing the trials in the Gauntlet of Shar. You may also encounter Balthazar. You can help him finish his mission of finding the Nightsong, form a temporary alliance, or fight and kill Balthazar straight away. |
|
Kill Raphael’s Old Enemy |
Side quest |
While completing the Gauntlet of Shar, you will need to confront Yurgir, a powerful Orthon who is reluctantly contracted to Raphael. You can kill or save Yurgir. This includes fighting him and his minions, convincing him to kill himself, or persuading him to let you help him fulfill his contract. Killing him has negative effects if you’ve chosen to romance Astarion. |
|
Break Yurgir’s Contract |
Side quest |
If you offer to help Yurgir with his contract, head down to the bottom of the Shar statue to find a ritual. It’s revealed that the final Dark Justiciar that Yurgir had to kill transformed himself into a rat to avoid death. You can take the Justiciar’s deal or kill him for Yurgir. |
|
Find the Nightsong and Daughter of Darkness |
Side quest/companion quest |
Finding the Nightsong in Baldur’s Gate 3 involves completing the Gauntlet of Shar. At the end, your party will come face to face with the Nightsong: revealed to be Aylin, daughter of Selune. As part of Shadowheart’s companion quest, you can choose to free or kill the Nightsong. |
Once you’re out of the Gauntlet of Shar, the next step is returning to Moonrise Towers. Good-aligned players will likely lay siege to Moonrise with the Harpers, Aylin, and Jaheira, who can be asked to join your party. Evil-aligned players will be returning in triumph to receive an audience with the Absolute.
Moonrise Towers (Second Visit)
Regardless of your path, you will find yourself in the Mind Flayer Colony beneath Moonrise Towers.
|
Activity |
Type |
Notes and Outcome |
|---|---|---|
|
Find Zevlor |
Side quest |
To find and rescue Zevlor, free him and the others from the mind flayer pods. This will also trigger a tough fight with some mind flayers. |
|
Find Mizora |
Side quest |
Wyll’s patron, Mizora is also trapped in a mind flayer pod. You can choose to save or kill Mizora; however, killing her will result in Wyll’s permanent death. |
|
Rescue Us |
Encounter |
If you partied up with Us on the Nautiloid, and it didn’t die, you can find it and free the friendly intellect devourer from a cage. You may have to fight or persuade the butcher Chop to let you take Us. |
|
Activity |
Type |
Notes and Outcome |
|---|---|---|
|
Encounter |
You can solve the Mind Link Puzzle to access some rare loot and artifacts. This includes the Waking Mind. |
|
|
Speak to the Waking Mind |
Encounter |
Place the Waking Mind in the Mind-Archive interface to receive the Githzerai Mind Barrier: a useful permanent buff. |
|
Speak to Kressa Bonedaughter |
Encounter |
Kressa can be found in the Barracks and has additional dialogue for the Dark Urge. |
|
Defeat Ketheric Thorm |
Boss encounter |
Act 2 ends with a gigantic boss battle against Ketheric Thorm and the Apostle of Myrkul. |
The Find Mol and The Grand Duke side quests may point you toward Moonrise Towers, but you will actually find both NPC in Act 3.
After beating Ketheric, Act 2 is essentially complete. After a good Long Rest, you will be able to resume your journey to Baldur’s Gate. Many of the quests and encounters in Act 2 affect what happens to your characters in Act 3 of Baldur’s Gate 3. Make sure to do everything you can before leaving the Shadow-Cursed Lands.

Baldur’s Gate 3
- Released
- August 31, 2023
- Developer(s)
- Larian Studios
- Publisher(s)
- Larian Studios
- ESRB
- M


